
Project Creation & Versioning
Creating a project object and uploading archive file
Step 1: Access the Project Creation Interface
Navigate to the Projects page using the left-hand navigation menu. Click the "Add Project" button located in the top-right corner of the interface.

Step 2: Complete Project Configuration
Upon clicking "Add Project", a configuration drawer will slide out from the right side of the screen. This guided wizard walks you through the essential steps for project creation.
Step 3: Device Creation (Optional)
After entering the required project information, you have the option to create an associated device within the same workflow. This integrated approach allows you to configure both project and device settings in a single session.

After successful upload, the project will show up in the project list.
Step 4: Project Confirmation
After successful project creation and archive upload, the new project will automatically appear in the main project list.
Project Types
The SDA platform supports three distinct project types, each designed for specific use cases:
Standard Projects Standard projects are designed for automation workflows and contain executable processes such as zaps and project archives. These projects typically include automation logic, configuration files, and associated resources required for deployment and execution.
Library Projects Library projects contain reusable code components and modules that can be shared across multiple projects within the SDA ecosystem. Examples include shared utility libraries (such as zal) that provide common functionality to reduce code duplication and maintain consistency across implementations.
FTP/SSH Folder Projects FTP/SSH Folder projects are specifically configured to support SFTP and FTP backup operations. This project type must be selected when implementing backup services that utilize SFTP or FTP protocols for data transfer and storage.
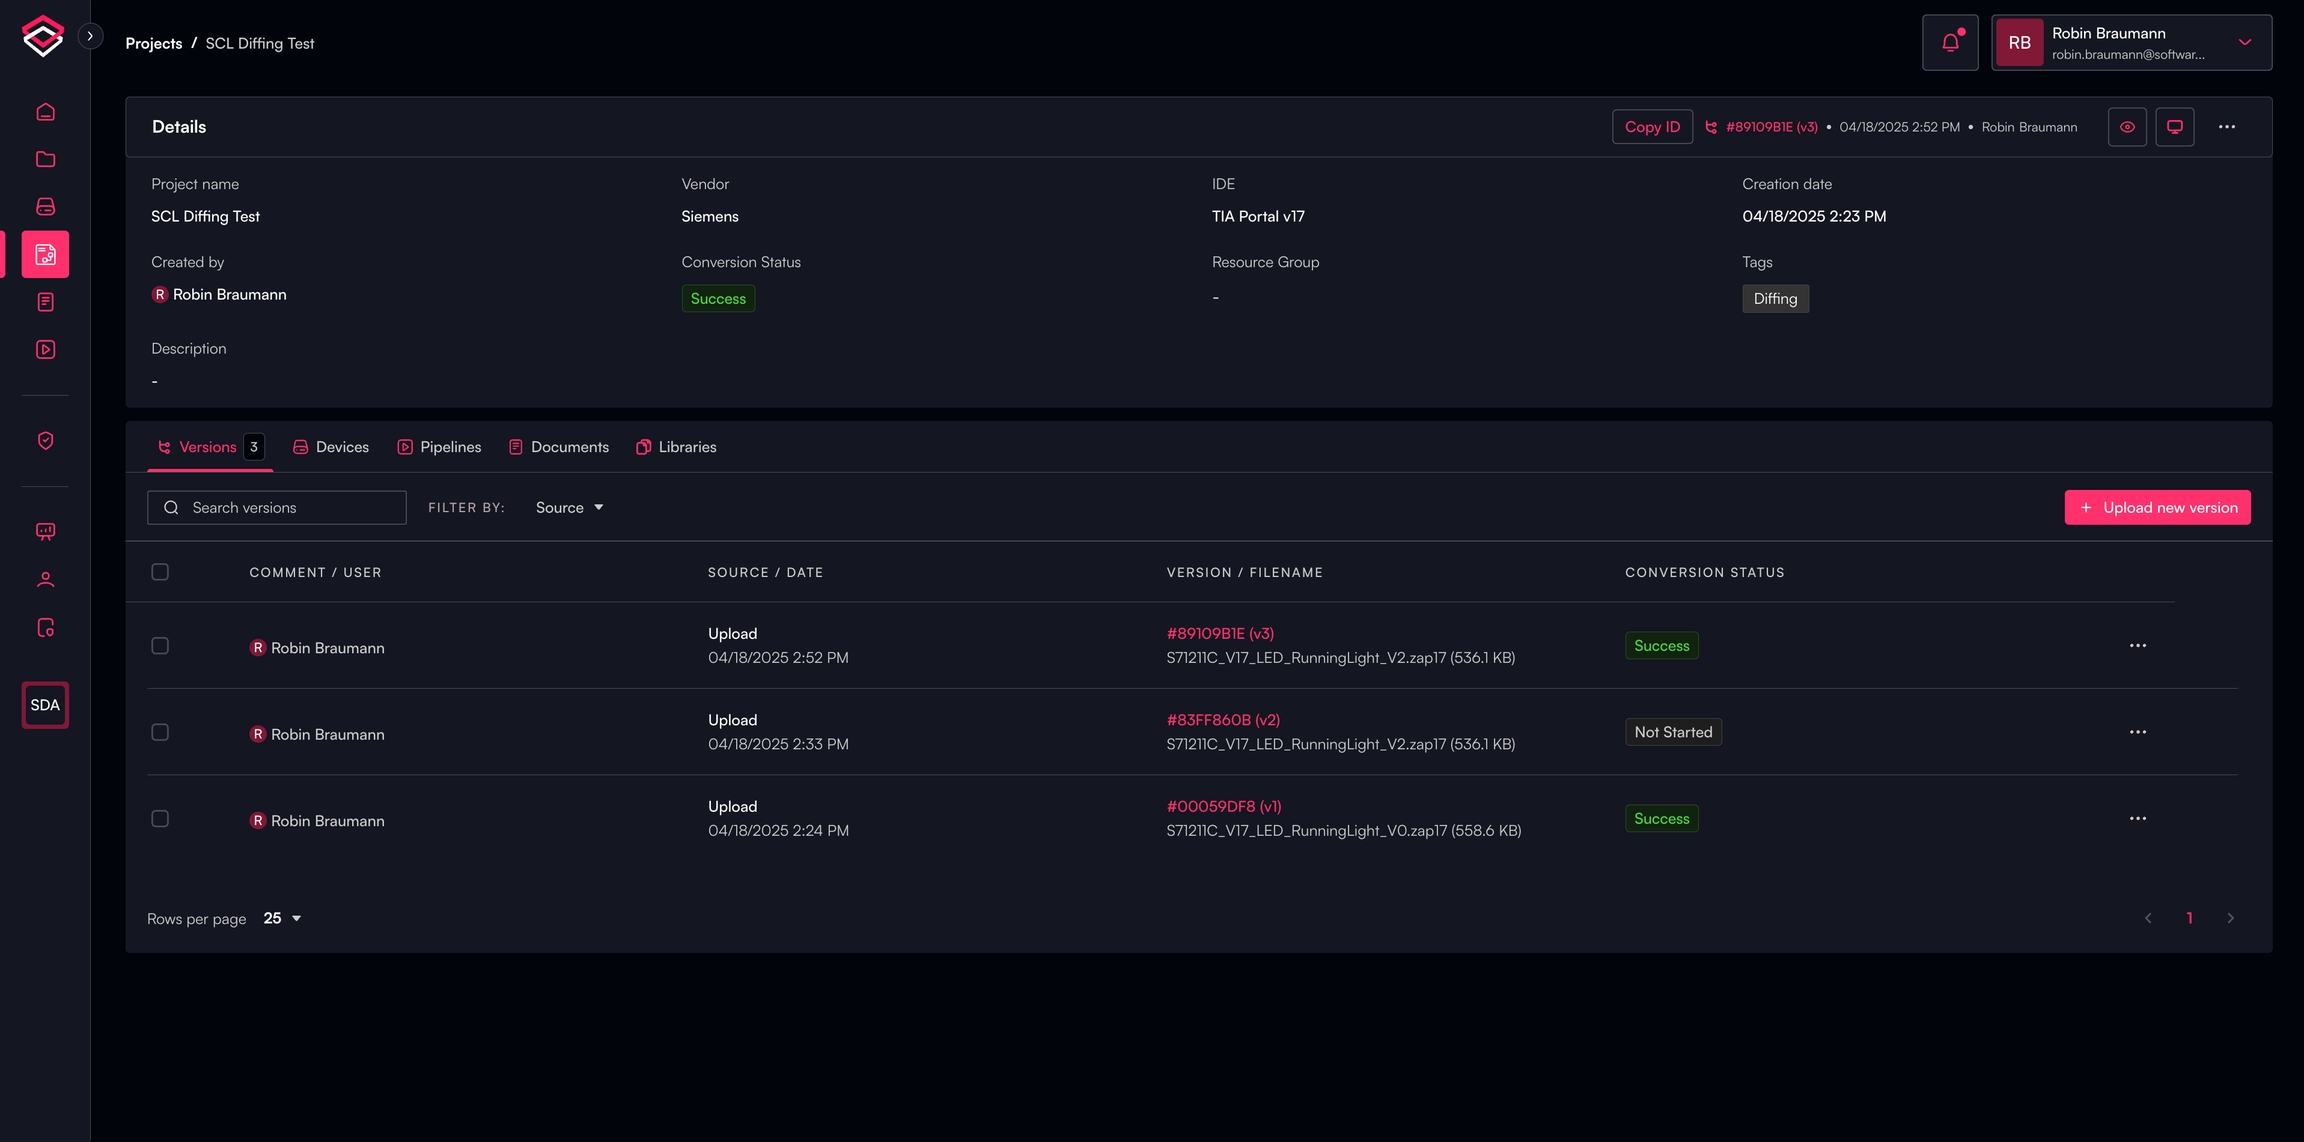
You can now choose a name for the project version and provide a comment on what was changed. Drag & drop the updated archive file to the corresponding area or click on it to manually select a folder.
After successful upload, the list of project versions can be seen by clicking on the button "Project versions" below the respective project name in the project view.
Project Filtering Options
Users can filter the displayed projects using the following criteria to quickly locate specific projects:
Vendor Filter projects based on the vendor or organization that created or maintains the project.
IDE Filter by the Integrated Development Environment (IDE) associated with the project, allowing you to view projects specific to your development tools.
Type Filter by project type (Standard, Library, or FTP/SSH Folder) to display only projects matching your current workflow requirements.
Tags Filter using custom tags assigned to projects, enabling flexible categorization and quick retrieval based on project characteristics, environments, or other custom attributes.
Multiple filters can be applied simultaneously to narrow down the project list and improve navigation efficiency.
Project Details
Once the project has been successfully uploaded, click on the project entry in the list to navigate to the detailed project view. This comprehensive interface provides access to:
Project configuration settings
File management and archive contents
Deployment status and history
Device associations and management
Last updated